
Many landowners struggle with wind-related losses they never quite trace back to a design flaw: eroding topsoil, stressed livestock, crops that dry out faster than the neighbor's field. Research from the USDA National Agroforestry Center found weighted-average yield increases of 12% for corn, 23% for winter wheat, and 13% for soybeans in properly protected fields, but those numbers only materialize when the windbreak design accounts for local wind, plant height, and permeability.
This guide walks through the full design process: mapping wind and site conditions, setting orientation and length, choosing species, spacing plants, and troubleshooting problems after establishment.
Key Takeaways
- Design around prevailing damaging winds, not property lines
- Use a permeable barrier (40-60% density for crops) at sufficient length and height
- Select species for mature size, wind firmness, and site compatibility
- Plan for shade, roots, snow, utilities, and fire risk before planting
- Coordinate complex properties with a whole-system land plan
How to Design a Windbreak
Step 1: Define the Protection Goal and Map the Site
Start by naming what needs protection. Annual crops, an orchard, pasture, livestock, a farmhouse, or a stretch of road all call for different windbreak configurations.
Next, map the property:
- Buildings, fields, slopes, and drainage patterns
- Wetlands, property boundaries, and access routes
- Utilities, existing hedgerows, and natural tree lines
- Areas where future shade or root spread could create conflicts
Check summer and winter prevailing winds separately—they often differ. Use local weather data, wind flags, or an anemometer, and pair historical charts with your own observations. NRCS wind rose data is useful background, but it draws on 1961–1990 records, so treat it as context rather than a live site measurement.
Mark the windward side, the leeward side, and the zone you're actually trying to protect. That zone, not the fence line, determines where the windbreak belongs.
Step 2: Choose Orientation, Length, and Row Arrangement
Position the main barrier roughly perpendicular to the prevailing damaging wind. If winds arrive from two directions during different seasons, you may need a second leg or an L-shaped layout instead of one straight row.
Length matters as much as placement. Utah State University Extension recommends an uninterrupted length of at least 10 times the windbreak's mature height (10H), because wind curves around short barriers and re-enters the protected zone from the sides. Don't end the planting directly beside the area you're protecting.

Layout depends on available land:
- Single row: Fits narrow sites, but a dead tree leaves a real gap
- Staggered double row: Adds density and redundancy without doubling the footprint
- Multi-row shelterbelt: Layers protection, habitat, and durability when you can spare the acreage
Avoid unplanned gaps near field edges, gates, roads, and corners. Where access is unavoidable, angle the opening or add a supplemental planting so wind can't funnel straight through.
Step 3: Select Species and Build Vertical Layers
Choose species that fit your hardiness zone, soil texture, drainage, and expected wind load, not just what looks good in a nursery catalog. Kansas State University's farmstead model layers dense shrubs or evergreens on the windward row, taller evergreens in the middle, and optional deciduous trees or shrubs on the leeward side.
For each candidate species, evaluate:
- Mature height and crown width
- Root behavior (spreading vs. taprooted)
- Branch retention as the plant ages
- Growth rate and wildlife value
- Products offered: fruit, nuts, biomass, or timber
- Compatibility with nearby crops
Compatibility carries real risk. Eastern red cedar and juniper host cedar-apple rust; Extension guidance advises against planting them within a few hundred yards of apples or hawthorns, and windborne spores can travel farther. Check with local extension or forestry offices before finalizing any species list, especially where invasive status or pest hosting is a concern.
Step 4: Set Spacing, Establish, and Manage the Planting
Spacing depends on mature size and how permeable you want the barrier. As a reference point, Kansas Forest Service planting guides suggest:
| Plant Class | Within-Row Spacing |
|---|---|
| Shrubs | 3-6 ft |
| Eastern redcedar / Rocky Mountain juniper | 6-10 ft |
| Pines | 8-16 ft |
| Short deciduous trees | 6-12 ft |
| Tall deciduous trees | 8-18 ft |
Between-row spacing usually runs 8–30 feet, with wider gaps on dry sites. Leave at least 4 feet more than your equipment's cutting width if you'll mow or cultivate between rows.
Before planting:
- Prepare soil and control competing vegetation
- Arrange irrigation or supplemental watering
- Protect young plants from browsing
- Schedule planting for the right local season
During establishment, replace failures promptly, manage weeds around root zones, and keep lower-level density intact as taller trees mature. Once the windbreak is established, prune only when necessary. Removing lower branches thins the barrier exactly where ground-level wind protection matters most.
When Should You Design a Windbreak and What Do You Need First?
Windbreaks earn their keep when wind causes measurable damage. Common triggers include:
- Soil erosion and moisture loss
- Crop desiccation or poor establishment of young plants
- Livestock exposure
- Snow drifting onto roads, yards, or feed areas
Design the windbreak before field layout, orchard planting, or major construction decisions so it does not later conflict with roads, drainage, grazing rotations, or utilities.
Site Data and Reference Materials
- A site map showing boundaries, buildings, and drainage
- Seasonal wind data and soil/drainage observations
- Mature plant-size references for candidate species
- Local conservation, utility, and setback requirements
Smaller sites can rely on simple observation tools. Larger, sloped, or multi-use properties benefit from formal mapping or a professional assessment.
Inputs and Conditions to Define
Before drawing anything, pin down:
- The target protection area and available planting width
- Desired products or ecological functions
- Planting budget and water availability
- Livestock pressure and acceptable maintenance workload
For landowners juggling crops, grazing, water access, and market goals across a larger property, a standalone windbreak plan often isn't enough. A site-specific whole-system farm plan puts the windbreak beside grazing rotations, lease terms, and conservation goals instead of treating it as a one-off line on a map.
Solutions in the Land builds these plans around 143 questions on regional context, resources, and constraints so those choices stay aligned.
Skills, Safety, and Compliance Checks
Confirm plant identification, safe equipment use, and utility locating before breaking ground. Treat these as design constraints, not afterthoughts:
- Fire risk from dense evergreen rows near structures
- Falling limbs near roads or buildings
- Vehicle sightlines at intersections and driveways
- Overhead and underground utilities
- Drainage structures and public access points
Key Parameters That Affect Windbreak Performance
A windbreak works by slowing and redistributing airflow, not stopping it. Performance depends on wind path, mature height, density, and layout on your site.
Barrier Orientation and Seasonal Wind Direction
A barrier placed across the principal damaging wind path protects more effectively than one aligned with it. Where seasonal winds shift, a single straight row may not be enough. Seasonal risk changes how you prioritize:
- Crop and field protection
- Snow deposition and drift control
- Soil erosion reduction
Mature Height and Protection Distance
Mature height sets the scale of everything else. NRCS Conservation Practice Standard 380 defines a planned protected zone of roughly 10H leeward and 2H windward, based on design height at age 20. Wind speed, terrain, and density all shift that number, and young plantings offer little protection until they approach mature size.
Permeability, Density, and Continuity
A barrier that's too open lets excessive wind through. One that's too solid forces air up and over, creating turbulence on the leeward side instead of calm.
| Purpose | Recommended Density |
|---|---|
| Crop and soil protection | 40-60% |
| Even snow distribution | About 30% |
| Cold-wind livestock shelter | At least 65% during winter months |

Staggered rows, evergreen foliage, and retained lower branches all contribute to a more even wind reduction than a single dense line.
Row Count, Spacing, and Vertical Structure
| Arrangement | Advantage | Limitation |
|---|---|---|
| 1 row | Fits limited land | One dead tree creates a gap |
| 2 rows | Adds density, reduces gap risk | Uses more planting space |
| 3+ rows | Layers protection and habitat | Higher land and maintenance cost |
Match row count to the protection goal and the acreage you can commit, then plan species and upkeep for the full life of the planting.
Species Compatibility and Long-Term Management
A fast-growing species can deliver early shelter and create later problems:
- Heavy shade on adjacent crops
- Shallow roots near fields or structures
- Weak wood that fails in storms
- High disease or pest susceptibility
Evaluate every species at mature size, not planting size, and against nearby crops, livestock, buildings, and water.
Common Mistakes, Troubleshooting, and Alternatives
Weak wind protection usually comes from poor placement, the wrong density, or a layout that creates new problems with shade, snow, or airflow.
Common Mistakes
- Planting along a boundary line without checking prevailing winds
- Placing the barrier parallel to the wind instead of across it
- Building a solid wall, or leaving large unplanned gaps
- Relying on one species with no plan for disease or replacement
- Ignoring shade, root competition, snow deposition, and utility conflicts
Troubleshooting Common Problems
- Weak protection or wind tunnels: Check gaps, short length, low mature height, and turbulence at the ends; add plantings or revise the layout.
- Crops still stressed leeward: Barrier may be too open, too dense, too young, or too far from the field—rule out shade, roots, and moisture first.
- Dieback or bare lower limbs: Confirm species-site fit, drought, compaction, browsing, and weed competition before you replant.
- More snow, frost, or access trouble: Reassess density near roads and buildings; thin only with site-specific guidance or drifting can worsen.

Alternatives Worth Considering
Not every site needs a full multi-row shelterbelt. When space, time, or water is limited, consider:
- Existing hedgerows or riparian cover (faster to use, though orientation may favor filtering or streamside goals over wind)
- Living snow fences for drift control (USDA notes 5–7 years to mature, with land out of production meanwhile)
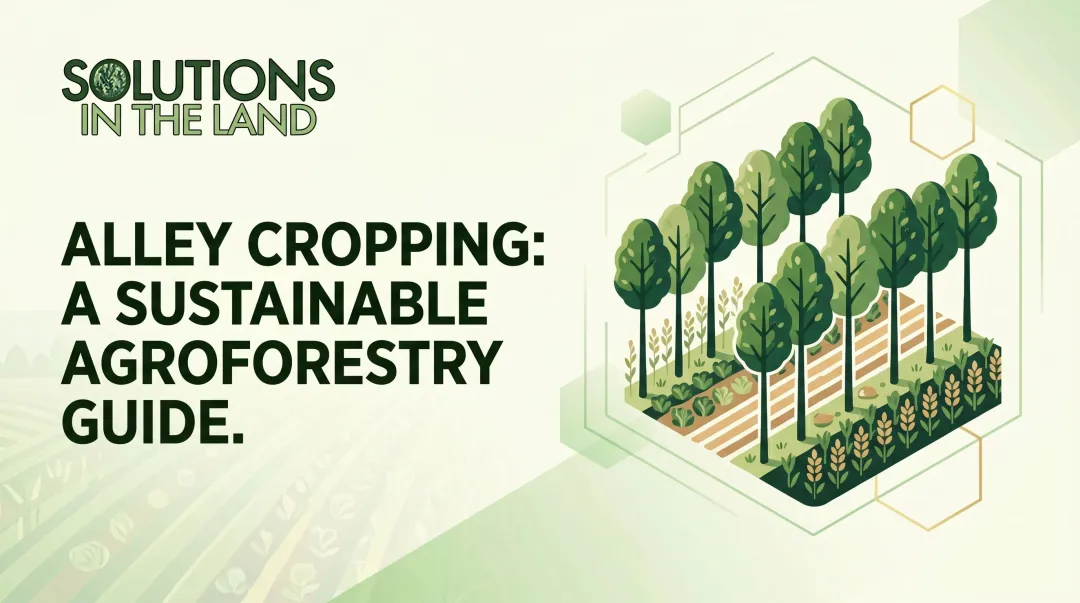
- Alley cropping or agroforestry strips when you also want marketable crops between rows
Conclusion
Designing a windbreak starts with the site's wind pattern and protection goal, then moves through each design choice in order:
- Orientation and length
- Permeability and mature height
- Species selection and spacing
- Establishment and ongoing maintenance
Skip any one of those steps and the barrier can create new problems instead of solving the original one.
The best windbreak slows wind without triggering turbulence, unwanted shade, root competition, or snow and pest issues elsewhere on the property. For a single field or farmstead, that can be a straightforward design exercise.
For a working farm balancing crops, grazing, leases, and conservation goals, the windbreak decision works best inside a broader plan. Solutions in the Land's whole-system farm planning treats the windbreak as one piece of a measurable, site-specific land plan rather than an isolated planting project.
Frequently Asked Questions
How do I design a windbreak?
Map prevailing wind direction and seasonal shifts, then orient the barrier roughly perpendicular to the most damaging wind. Choose adequate length, layered species for permeability, appropriate row spacing, and a maintenance plan for the life of the planting.
How far does a windbreak protect?
Field windbreaks typically protect 10-15 times their mature height downwind, with NRCS design standards using a 10H leeward and 2H windward zone. Actual distance varies with density, terrain, wind speed, and species, so treat these as planning ranges, not guarantees.
What is the best layout for a windbreak?
A single row suits narrow sites with limited land. Staggered double rows add durability and density, while multi-row shelterbelts offer the most layered protection and habitat. The right choice depends on available space, wind pattern, and what you're protecting.
How many rows should a windbreak have?
One to three rows generally suffice for field erosion control, while farmstead and livestock shelters often use three to five rows for denser winter protection. More rows add habitat and durability but require more land and maintenance.
What trees are best for a windbreak?
Choose locally adapted, wind-firm species based on mature size, evergreen or deciduous function, soil and moisture conditions, and disease risk. Always check compatibility with nearby crops. For example, avoid planting red cedar too close to apple trees, since it hosts cedar-apple rust.